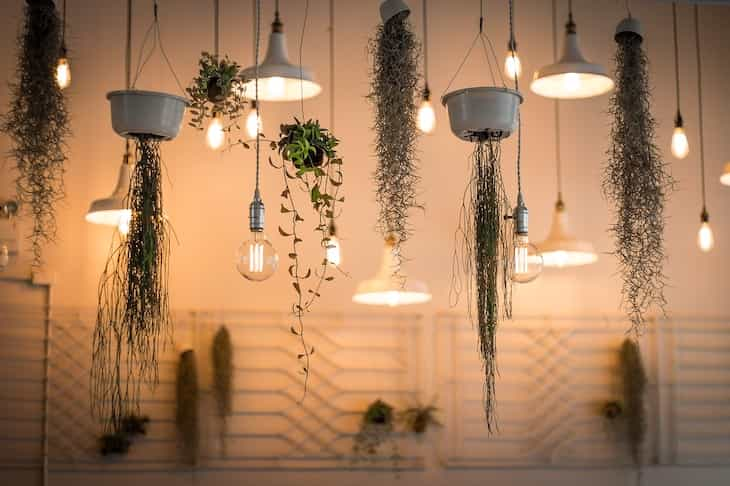
Interior tips: Hang your plants – make creative DIY planters
If you love plants, but don't have any good ideas where to put them, then you can always hang your plants with special hanging planters.
They can look light and creative, and the best thing about them is that you can make them by yourself!
Here are a few tips on how to create nice and stylish hanging planters.
Paint the Containers
Clean your containers to get rid of any dirt or residue.
Paint them in your chosen colors. Let them dry completely.

Drill Holes (Optional)
If your containers don't have drainage holes, you might want to drill a few in the bottom. This helps prevent overwatering.
Prepare the Plants
Remove your chosen plants from their original pots.
Gently loosen the roots, so they can adapt to the new planter.
Fill Containers with Soil
Put a layer of potting mix in each container. Leave some space at the top.
Plant Your Green Friends
Place your plants in the containers. Add more soil if needed.
Make sure the soil covers the roots.
Attach Rope or String
Cut a length of rope or string for each planter. The length depends on how low you want them to hang.
Tie one end securely to the container.
Hang Your Planters
Find a suitable place to hang your creations. It could be on a porch, a tree branch, or a ceiling hook.
Make sure they are hanging securely.
Watering
Water your plants according to their needs.
Hanging planters might dry out a bit faster, so check them regularly.
Enjoy Your Hanging Garden
Step back and admire your creative hanging planters.
They'll bring a touch of nature and color to your surroundings.
Previously, we talked about storing hobby items.
