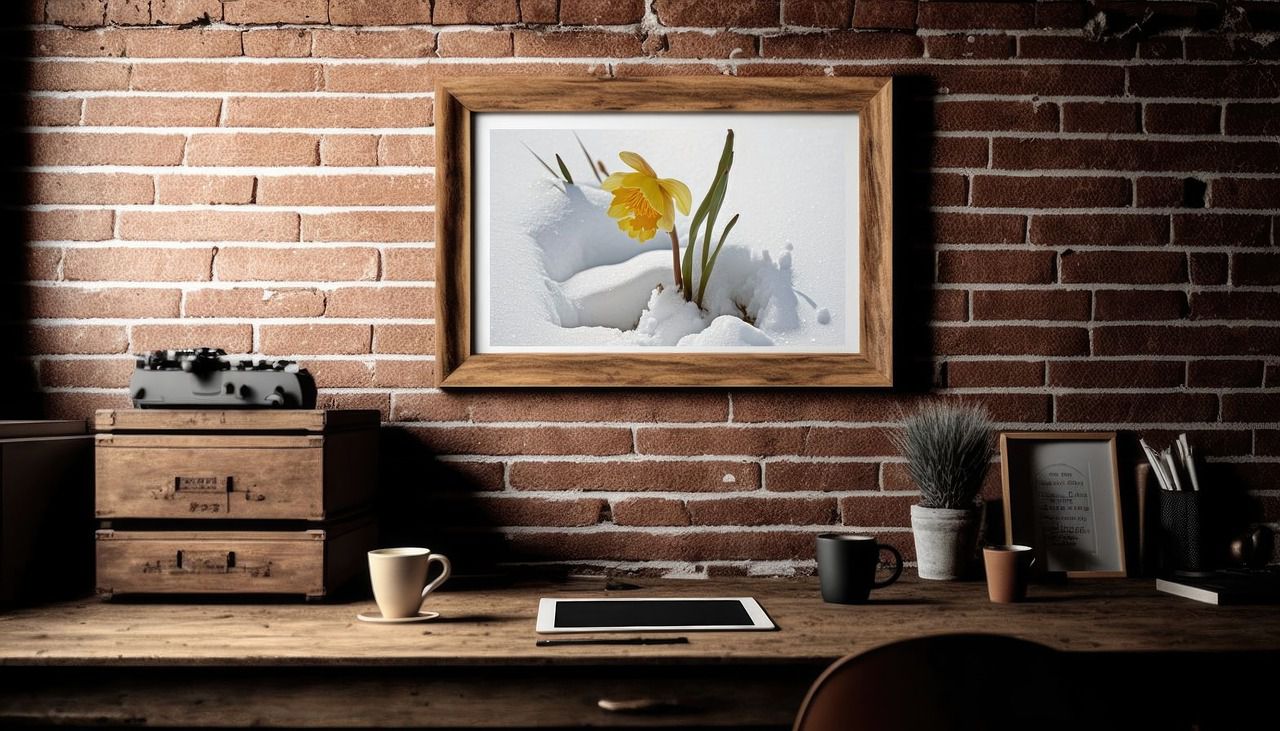
If you love taking pictures, or you just want to display your tastes and aesthetics, then you should make a picture wall!
Though it seems that it's extremely easy, it's all about balance and composition, so your pictures can look their best.
Here are a few tips on how to achieve that.
Plan the Layout
Decide how you want your pictures arranged on the wall. You can go for a neat grid, a random collage, or any pattern that appeals to you.
Measure and Mark
Use a tape measure and a pencil to mark where you want each picture to go. This helps ensure they're evenly spaced and level.

Arrange on the Floor
Before putting nails in the wall, lay out your pictures on the floor to get a sense of how they'll look together.
You can easily move them around until you're happy with the arrangement.
Hang Them Up
Start hanging your pictures on the wall using nails, hooks, or adhesive strips, depending on the weight of the frames. Follow your marks for guidance.
Use a Level
Make sure each picture is straight by using a level or by comparing it to nearby furniture or the floor.
Mix and Match
Don't be afraid to mix different sizes and styles of frames. It can add visual interest to your picture wall.
Fill the Space
Consider the space around the pictures. You can add decorative items like shelves, clocks, or mirrors to fill the wall.
Personal Touch
Your picture wall is a reflection of your style and memories, so make it personal and meaningful to you.
Adjust as Needed
Step back and look at your picture wall from a distance. If something doesn't look right, don't hesitate to make adjustments.
Conclusion
Creating a picture wall can be a fun and creative project.
It's a great way to add a personal touch to your home and showcase your cherished memories and artwork.


