The smallest details like convenient shelves can make your interior not only stylish and consistent, but also simply comfortable to live in.
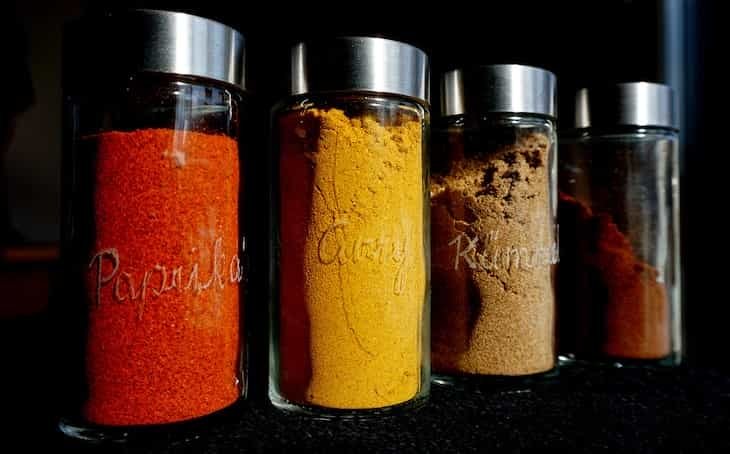
For instance, if you use lots of spices and keep them in small jars, then you might need a nice shelf to put them on.
But you don't even have to buy it – you can make one on your own!

Gather your materials
You will need a sturdy board or plank that is the desired length and width for your shelf.
You'll also need brackets or supports to hold the shelf in place.
Make sure they are suitable for the weight of the spices.
Prepare the board
Sand the surface of the board to make it smooth.
You can also paint or stain it if you want to add some color or protection to the wood.
Let it dry completely before moving on.
Measure and mark
Determine where you want to place the brackets on the wall.
Use a measuring tape to ensure they are evenly spaced and at the desired height. Mark these spots on the wall.
Install the brackets
Use screws or nails to attach the brackets to the wall following your markings. Make sure they are securely fastened and level.
Attach the shelf
Place the board on top of the brackets or supports. Adjust it until it is centered and level.
Use screws or nails to secure the board to the brackets.
Organize your spices
Once the shelf is securely in place, arrange your spice jars or containers on the shelf.
You can line them up neatly or use a spice rack or small baskets to keep them organized.
Add finishing touches
If desired, you can add labels to your spice jars or use decorative jars for a more visually appealing display.
This can make your shelf look even better.
Previously, we talked about ceiling lamps.


